In this article
HTTP Basic Authentication
 Kamran Ahmed
Improve this Guide
Our last guide was about the basics of authentication, where we discussed authentication, authorization, types of authentication, authentication factors, authentication strategies, and so on.
In this guide today, we will be learning about basic authentication, and we will see how we can implement Basic Authentication in Node.js. We have a visual guide on the basic authentication and an illustrative video, watch the video below or continue reading:
What is Basic Authentication?
Given the name “Basic Authentication”, you should not confuse Basic Authentication with the standard username and password authentication. Basic authentication is a part of the HTTP specification, and the details can be found in the RFC7617.
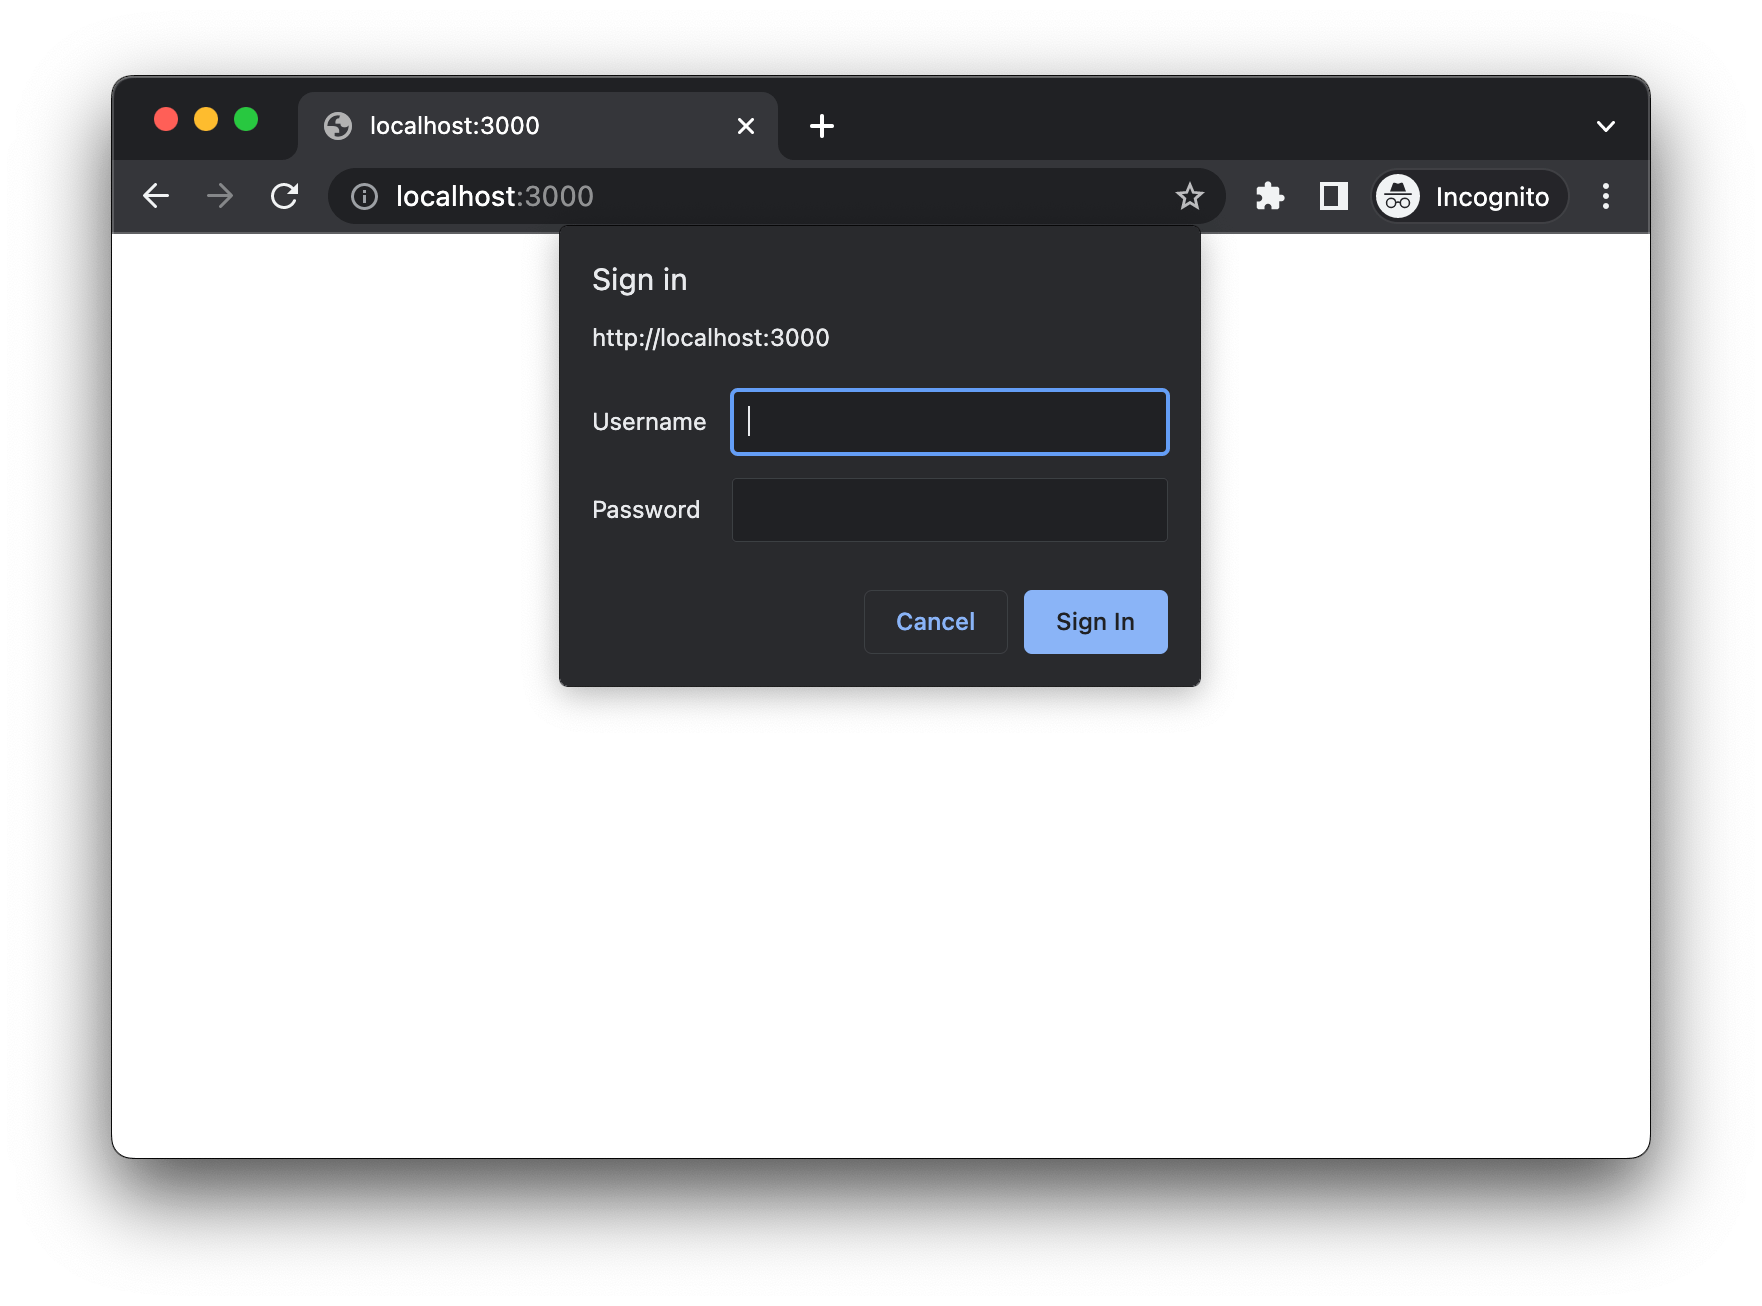
Because it is a part of the HTTP specifications, all the browsers have native support for “HTTP Basic Authentication”. Given below is the screenshot from the implementation in Google Chrome.

How does it Work?
Now that we know what basic authentication is, the question is, how does it work? The answer is: it is controlled by the response of the server.
Step 1
When the browser first requests the server, the server tries to check the availability of the Authorization header in the request. Because it is the first request, no Authorization header is found in the request. So the server responds with the 401 Unauthorized response code and also sends the WWW-Authenticate header with the value set to Basic, which tells the browser that it needs to trigger the basic authentication flow.
401 Unauthorized
WWW-Authenticate: Basic realm='user_pages'
If you notice the response, we have an additional parameter called realm, which is just a value assigned to a group of pages that share the same credentials.
The browser might use Realm to cache the credential. In the future, when there is an authentication failure browser will check if it has the credentials in the cache for the given realm of the domain, and it may use the same credentials.
Step 2
Upon receiving the response from the server, the browser will notice the WWW-Authenticate header and will show the authentication popup.

Step 3
After the user submits the credentials through this authentication popup, the browser will automatically encode the credentials using the base64 encoding and send them in the Authorization header of the same request.
Step 4
Upon receiving the request, the server will decode and verify the credentials. If the credentials are valid, the server will send the response to the client.
So that is how Basic Authentication works.
Basic Authentication in Node.js
I have prepared the sample project in Node.js, which can be found on GitHub kamranahmedse/node-basic-auth-example. If you look at the codebase of the project, we have two files index.js with the following content:
// src/index.js

const express = require('express');
const authMiddleware = require('./auth');

const app = express();
const port = 3000;

// This middleware is where we have the
// basic authentication implementation
app.use(authMiddleware);

app.get('/', (req, res) => {
  res.send('Hello World!');
});

app.listen(port, () => {
  console.log(`App running @ http://localhost:${port}`);
});
As you can see, it’s just a regular express server. authMiddleware registration is where we have all the code for “Basic Authentication”. Here is the content of the middleware:
// src/auth.js
const base64 = require('base-64');

function decodeCredentials(authHeader) {
  // ...
}

module.exports = function (req, res, next) {
  // Take the header and decode credentials
  const [username, password] = decodeCredentials(
    req.headers.authorization || ''
  );

  // Verify the credentials
  if (username === 'admin' && password === 'admin') {
    return next();
  }

  // Respond with authenticate header on auth failure.
  res.set('WWW-Authenticate', 'Basic realm="user_pages"');
  res.status(401).send('Authentication required.');
};
And that is how the basic authentication is implemented in Node.js.
